
Last updated October 16, 2026
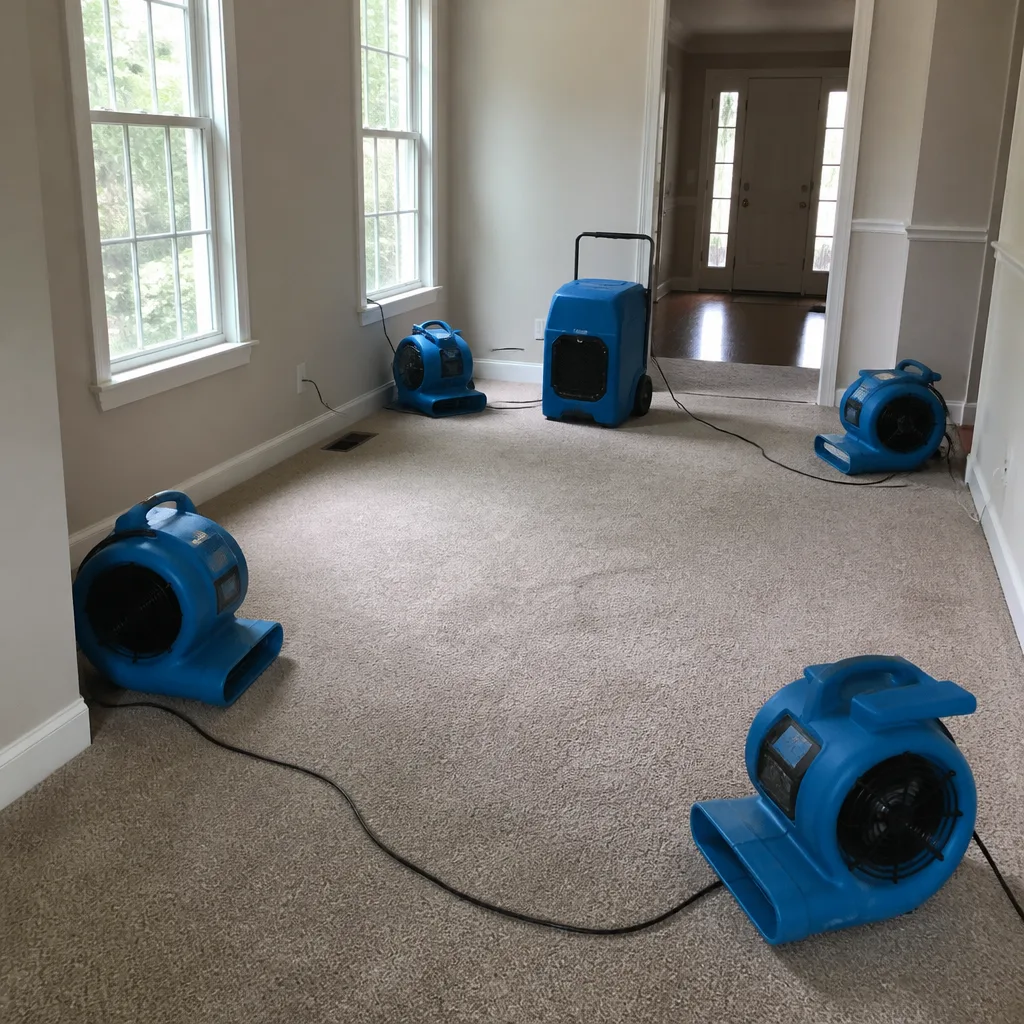 Water damage drying
 Fire & smoke cleanup
 Mold remediation
 Storm response
 Sewage cleanup
 Reconstruction
Free visual inspection and a written scope of work before any mitigation begins - photos, moisture readings, and drying logs go in your claim file
The scope we write is the scope we bill. Anything new gets shown to you, in writing, before we touch it.
Get your free estimateWater Damage Restoration Maintenance Checklist for Long Beach Homeowners
Long Beach has more than 60,000 homes built before 1970, and a large share of them still have galvanized steel supply lines that are statistically overdue for pinhole leaks. Yet the standard homeowner maintenance checklist still lists “check under sinks” as if that’s the same as knowing what to look for. This guide is different. It’s built around the specific failure points that Long Beach’s marine layer, aging housing stock, flat-roof additions, and El Niño rain cycles actually create. You’ll learn what to check, when to check it, and what “normal” looks like in your specific walls before a problem starts.
Quick Answer
The most important water damage prevention steps for Long Beach homeowners are: inspect aging supply lines and appliance hoses quarterly, test your water shutoff valve twice a year, check stucco weep screeds and flat-roof crickets before the rainy season, and run a documented moisture-meter baseline on your interior walls now so you know what dry looks like. Long Beach homes built before 1970 should be checked more often than newer construction because of the specific plumbing and drainage materials used in those decades.
Restoration work we handle
Table of Contents
- Why Your Home’s Decade Determines What You Check First
- Three Moisture Hiding Spots No Generic Checklist Mentions
- The Long Beach Water Damage Prevention Calendar
- How to Document a Moisture Baseline With a Pin-Type Meter
- The Day After an Atmospheric River: A 90-Minute Inspection Sequence
- Room-by-Room Maintenance Sequence
- Common Mistakes to Avoid
- When to Call a Professional
Why Your Home’s Decade Determines What You Check First
Long Beach housing stock falls into three broad construction eras, and each one fails differently. If you don’t know your home’s era, the county assessor’s website will tell you the original build year in under a minute. The house you’re standing in right now was almost certainly built in one of these three windows.
Pre-1950 Bungalows and Craftsmans
These homes, concentrated in neighborhoods like Rose Park, Bluff Heights, and the Historic District, were built with materials that were excellent for their time and are now reaching failure age. The supply lines are the big one. Galvanized steel pipes installed before 1960 have a typical lifespan of 40 to 60 years, which means most of them in Long Beach are years past their window. The failure mode is a pinhole leak, which starts as a damp spot or a small rust bloom on the pipe and can run for weeks inside a wall before you see anything. Check exposed pipe runs in crawl spaces and garages first, and watch for any rust-colored staining at threaded joints.
Floor drains in these older homes often have dried-out P-traps, which lets sewer gas in but also signals a drain that hasn’t carried water in years. Pour a gallon of water down every floor drain twice a year. It’s a one-minute check that tells you the drain is still connected and flowing.
1960s-70s Tract Homes
Homes built in this era, common in Lakewood Village, Los Altos, and the eastern half of Long Beach, often used copper supply lines, which are generally better than galvanized but have a specific weakness: the solder joints. Builder-grade soldered joints from this period can develop slow seeps that take years to become visible. The tell is a green or blue-green crust at any soldered joint, even a small one. That’s active corrosion and it means the joint is failing.
These homes also have something called a “raised foundation” in many cases, with a crawl space that sits only 18 to 30 inches off the soil. Long Beach’s high water table, especially in the area south of Willow Street, means the soil under these homes stays damp for months after rain. If your crawl space doesn’t have a vapor barrier, or the barrier is torn, that soil moisture moves up into the floor joists and the subfloor. You won’t see any of this from inside the house until the floors start to cup or a musty smell appears. The check is easy: open the crawl space access and look for a continuous plastic sheet on the soil. If you can see bare dirt anywhere, the barrier has failed.
Post-1990 Infill Construction
Newer Long Beach construction, including the infill homes in Wrigley, Bixby Knolls, and North Long Beach, uses PEX or CPVC supply lines and modern drainage. The failure points shift to installation-related issues rather than material aging. Watch for these specific problems: nail pops in drywall above doorways (which can indicate truss movement and the hairline cracks that follow), horizontal hairline cracks in stucco at the top of a wall where the lintel or bond beam carries roof load (which can let water in), and any window or door that’s started sticking in its frame, which in a house under 30 years old often means the frame has absorbed moisture and swelled.
The takeaway: a pre-1950 home needs supply line and drain checks first. A 1960s-70s home needs solder joint and crawl space checks first. A post-1990 home needs stucco and flashing checks first. Checking the same list for all three wastes time and misses the real risk. For a deeper look at how water intrusion patterns differ across the city, see our Water Damage Restoration in Long Beach guide.
Three Moisture Hiding Spots No Generic Checklist Mentions
Every national checklist tells you to clean gutters and check the water heater. Those matter, but they aren’t the spots that actually cause the most damage in Long Beach. In our experience, the calls that turn into full tear-outs usually start in one of these three places.
1. Stucco Weep Screed at Grade Level
Long Beach has thousands of stucco homes, and stucco walls are designed to breathe through a metal flashing channel called a weep screed at the bottom of each wall. The weep screed sits a few inches above grade and lets moisture that condenses inside the wall escape through small holes or slots. The problem: homeowners and landscapers routinely bury the weep screed with soil, mulch, or plantings. When the weep screed is buried, moisture that should escape piles up inside the wall cavity and wicks up into the paper underlayment behind the stucco. We’ve seen entire wall sections with rot in the framing that started as nothing more than a flower bed raised two inches above the screed.
The check: walk the perimeter of your home and look at the bottom edge of the stucco. You should see a metal lip or a line of small holes, and the soil should sit at least four inches below it. If the soil touches the stucco, dig it back. This single check prevents more water damage in Long Beach stucco homes than any other maintenance task.
2. Original Clay Sewer Laterals Under Slabs
Homes built before about 1980 in Long Beach often have a clay sewer lateral, the pipe that runs from the house to the city main. Clay pipe segments are four feet long and joined with mortar. Trees, ground movement, and age crack this pipe. When a lateral cracks, it doesn’t usually back up into the house immediately. Instead, the cracks let groundwater in and sewage smells out, and over time the soil around the pipe shifts, which can crack the slab. The symptom is often a slow drain, a persistent sewer smell in one bathroom, or a damp spot on a concrete floor.
The check: if you have an older home and haven’t had the lateral inspected by camera, that’s the one inspection you should schedule before you have any sign of trouble. A camera inspection takes under an hour and costs a fraction of what a slab leak repair costs. It’s the single most useful diagnostic you can run on a pre-1980 Long Beach home. Long Beach’s Department of Public Works runs a lateral repair program in some areas, and knowing your lateral’s condition before it fails changes the quotes you’ll get.
3. Flat-Roof Crickets on 1950s Additions
Long Beach has a lot of homes where the original 1950s bungalow got a flat-roof addition, sometimes in the 1960s and sometimes much earlier. Flat and near-flat roofs need positive drainage, and the weak point is almost always the cricket, a small peaked structure built behind an obstruction like a chimney or a parapet wall to divide water flow. When a cricket is too small, improperly sealed, or starting to fail, water ponds on the upstream side and works its way into the membrane. You won’t see this from the ground, and by the time a ceiling stain appears inside, the roof decking underneath is already waterlogged.
The check: if you have a flat-roof addition and you haven’t been up there in two years, get a professional roof inspection that specifically covers the crickets and the membrane seams. Never walk a flat roof without knowing the membrane condition. If the membrane is cracked at the seam, a full replacement is much cheaper when caught before the decking rots. We see these failures every dry season after the marine layer has kept the surface wet for months.
These three spots share a theme: they’re all out of sight, and they all fail silently for months before anyone notices. The standard checklist skips them entirely. Yours shouldn’t. If moisture from any of these has already shown up as staining or a musty smell, our Mold Remediation in Long Beach page covers what happens next.
The Long Beach Water Damage Prevention Calendar
Generic advice says “check in spring and fall.” That’s wrong for Long Beach. Our weather calendar is specific: a long dry season from May through October, occasional marine-layer drizzle in the late spring, and concentrated rain events from November through April, often arriving as atmospheric rivers. The maintenance calendar should follow that pattern, not some national template.
October: Pre-Rain Season Walkthrough
This is the single most important month for Long Beach water damage prevention. Before the first rain, do these checks:
- Clean and inspect all gutters and downspouts. Pay extra attention to downspout elbows, which clog first, and discharge points, which should direct water at least five feet from the foundation.
- Check the weep screed around the entire perimeter. Dig back any soil that’s risen above the screed line.
- Walk the perimeter with a hose and watch where water flows. Long Beach’s flat grading means water doesn’t always run away from the house the way it should. Look for any area where water pools against the foundation.
- Inspect all window and door flashing and exterior caulking. Re-caulk any gaps.
- Test your main water shutoff valve. Turn it partially off and back on to make sure it doesn’t seize. If it’s stiff or rusty, replace it now, not when you need it in an emergency.
November through April: Rain Season Monitoring
During the rainy months, watch for these specific signs after each significant storm: any new water staining on exterior walls, any change in the way doors and windows open, any new cracking in stucco or drywall, and any pooling water in the yard that doesn’t drain within 24 hours. Check the crawl space after heavy rain if you have access; the floor of a crawl space should not be visibly wet after a storm. If it is, you have a drainage failure that needs correction before the soil carries moisture into the framing.
May: Marine Layer Inspection
The marine layer brings damp, salt-laden air into Long Beach homes, and that moisture concentrates on the north and east sides of the house, which get less sun. Check these shaded walls for mold surface growth, peeling paint, or a soft feel to the wood trim. Run your hand along the bottom edge of exterior doors; if the wood feels cool and slightly damp, it’s absorbing marine moisture. This is a normal condition in Long Beach, but it means you should be checking the interior side of those same walls for any discoloration.
June through September: Dry Season Maintenance
The dry season is when you do the work. Flush every unused drain, pour water down the floor drains, run every faucet you don’t normally use for thirty seconds, and exercise every shutoff valve in the house. Replace any supply line or hose that shows corrosion, rust, or brittleness. The dry season also gives you the best access to attics and crawl spaces for inspection. Moisture problems found in the dry season are easier to fix because the structure isn’t actively wet, and drying equipment runs more efficiently. We run Storm Damage Restoration in Long Beach calls all winter, but the smart homeowners schedule their preventive work in the summer.
How to Document a Moisture Baseline With a Pin-Type Meter
Most homeowners only think about moisture readings after a leak has already happened, and at that point, they have no idea what “normal” looked like in their own walls. A pin-type moisture meter costs between $25 and $60 at any hardware store, and it gives you a baseline you can reference later. This is one of the simplest, most effective preventive steps available to a Long Beach homeowner.
How It Works
A pin-type meter has two small pins that you press into a material. The meter measures the electrical resistance between the pins and converts it to a moisture percentage. Wood typically reads 6 to 9 percent when dry in Southern California, 12 to 15 percent in more humid regions, and above 20 percent when actively wet or rotting. Drywall reads 4 to 8 percent when dry and above 15 percent when wet. The value of the baseline is the comparison, not the absolute number. If your guest bedroom wall reads 8 percent in July and 14 percent in February after a storm, you have a leak that wasn’t visible to the eye.
How to Take a Baseline
- Choose ten locations in your home: one interior wall in each bedroom, the hallway wall behind the bathroom plumbing, the ceiling below each bathroom, the kitchen wall behind the sink, and the garage wall shared with the house interior.
- At each location, take three readings: at floor level, at waist height, and at ceiling height. Average the three.
- Write down the date, the location, and the reading for each spot. Keep this in a notes app or on paper.
- Repeat the baseline twice a year: once at the end of the dry season in October and once at the midpoint of the rainy season in February.
This process takes an hour the first time and half an hour after that. What it gives you is a concrete, dated record of what your specific walls look like when they’re dry. When we set up drying equipment, we take psychrometric readings, which measure the moisture content of the air and materials to confirm the structure is genuinely dry, not just dry on the surface. Your baseline lets you do the same thing on a smaller scale before any problem starts. It’s the difference between catching a supply line leak when it’s a damp spot in the wall and catching it when it’s a six-foot section of wet drywall.
For the meter readings to be meaningful, you need to press the pins into the material you’re testing, which for drywall means pressing through the paint. The tiny pinholes are invisible from more than a few inches away. If you’re testing stucco, concrete, or tile, a pinless meter is a better choice, but for interior walls and wood, a pin-type is the right tool.
The Day After an Atmospheric River: A 90-Minute Inspection Sequence
Southern California’s heaviest rain events arrive as atmospheric rivers, narrow bands of concentrated moisture that can drop several inches of rain in 24 hours. Long Beach’s drainage system handles ordinary storms well, but these events stress the city’s aging storm drains and your home’s roof and foundation at the same time. The day after one of these storms is the single most productive inspection window of the year. Everything that’s failing is visible right then, and the sooner you find it, the less it costs to fix.
Run this sequence in order. It takes about 90 minutes.
- Walk the entire exterior perimeter. Look for any pooling water against the foundation. Long Beach’s flat grading means water doesn’t always drain away, and a storm drain inlet that’s collected leaves or debris will leave a concentrated pool exactly where you don’t want it. If water is still ponding 24 hours after the rain stopped, you have a drainage deficiency.
- Check the weep screed line visually. If water is staining the stucco from below, that’s telling you the screed is blocked or buried somewhere and moisture is trapped in the wall. Look for a darker line of stucco above the screed.
- Inspect every window and door from the inside. Feel around the frame with your fingers. The first sign of a flashing failure is usually a cool, slightly damp feel at the bottom corners of a window frame, not a visible stain.
- Look at each ceiling. Any new water stain, no matter how small, needs to be investigated. A small stain can mean a small leak or the leading edge of a much larger one.
- Check the crawl space or basement if you have one. The floor should not be visibly wet after a storm. If it is, the water is coming from grading, downspout placement, or a leaking lateral, and it will wick into the framing.
- Run your hot water for 30 seconds. If the water has a sulfur smell or looks cloudy, the heavy rain may have caused ground shifting, which can crack pipes. A cracked pipe often shows symptoms only after weather events.
- Check the attic if you have safe access. Look for any new water staining on the underside of the roof deck, especially at roof penetrations, chimneys, and the cricket areas. If you can’t safely access the attic, skip this step and mention it during your next roof inspection.
If you find any of these signs, the clock is running. In Long Beach’s humid post-storm air, mold can establish in 24 to 48 hours on wet drywall and insulation. The fix is usually straightforward when caught early: find the water source, dry the affected area, and repair the entry point. If you wait until the stain darkens or the smell appears, the repair becomes a full restoration project. Our team at Marsh Water Damage Long Beach home has been responding to these events since 2005, and the difference between a $400 repair and a $20,000 tear-out is almost always a matter of how quickly the problem was identified.
Room-by-Room Maintenance Sequence
This is the working version of the checklist. Run it twice a year, at the start and end of the rainy season, and you’ll catch most problems before they become damage.
Kitchen
- Inspect the supply lines to the sink, dishwasher, and refrigerator ice maker. Look for any rust, any crack or bulge in a braided steel hose, or any green corrosion at a fitting.
- Check under the sink with your hand, not just your eyes. Run your fingers along the base of the cabinet and the back wall. Moisture in a cabinet often feels cool before it looks wet.
- Test the garbage disposal and the dishwasher drain line connection. This is a common slow-leak spot that drips for months into the cabinet base.
- Look at the tile or flooring around the dishwasher for any discoloration or cupping. A failed dishwasher supply line is one of the most common kitchen water damage sources in Long Beach, and it often leaks behind the unit where you can’t see it.
Bathrooms
- Inspect the supply lines and shutoff valves under every sink. Turn each shutoff valve off and back on to make sure it works.
- Check the tub and shower surround for any failing grout or caulk. A single missing bead of caulk lets water into the wall every time someone showers.
- Look for any softness or discoloration in the baseboard or the floor around the toilet.
- Test the flapper in the toilet tank once a year. A slow toilet leak can run for months and saturate the subfloor.
- Pull the shower drain cover and clean hair and debris. Slow drains put standing water against the waterproofing layer for longer than it was designed to handle.
Laundry Room
- Inspect the washing machine hoses, both supply and drain. Rubber hoses should be replaced every three to five years even if they look fine, and braided steel hoses should be replaced at the first sign of rust or bulging.
- Check the wall behind the washer for any discoloration or dampness. Washing machine failures are one of the most common sources of water damage in Long Beach, and they often fail when no one is home, which means they run for the full cycle before anyone sees the water.
Water Heater
- Inspect the area around the water heater. Any rust, any water staining on the platform, or any hissing sound means the tank or a fitting is failing.
- Test the pressure relief valve once a year by lifting the lever and letting a small amount of water discharge. If the valve doesn’t reseat properly or the discharge pipe is clogged, replace the valve.
- Look at the date stamp on the tank. Most residential water heaters last 8 to 12 years in Long Beach’s water conditions, which are moderately hard. If your tank is past that range, plan for replacement now rather than waiting for a rupture.
Exterior
- Inspect all hose bibs and irrigation connections. A small drip at an exterior spigot can run for an entire season and saturate the soil next to the foundation.
- Check that all downspouts discharge at least five feet from the foundation.
- Inspect the weep screed for burial or blockage.
- Look at the roof from the ground. Any missing or shifted tiles, any visible sagging, or any dark streaks running down the roof surface indicate water flow problems.
Keep a simple dated log of what you checked and what you found. The log itself becomes evidence for insurance purposes if something does go wrong, and it forces you to actually run the checklist instead of letting it slide.
Common Mistakes to Avoid
- Ignoring small stains. A small water stain on a ceiling is never “nothing.” It means water is getting in, and water that’s getting in now has been getting in for weeks or months already. The stain is the visible edge of a larger wet area.
- Relying on “gutter cleaning” as the only exterior check. Gutters matter, but in Long Beach the weep screed, the flat-roof cricket, and the sewer lateral are bigger failure points. Clean gutters don’t help if your stucco weep screed is buried.
- Checking only after a storm. Long Beach’s marine layer keeps moisture in play year-round. The dry season is when you should be inspecting, not the middle of a rain event.
- Not knowing where your main water shutoff is. Every Long Beach homeowner should be able to turn off their water in under 60 seconds. Practice it. In an emergency, the difference between a controlled shutoff and a flooded house is knowing where the valve is and whether it turns.
- Assuming a new house has no problems. Infill construction in Long Beach has its own failure modes, especially around stucco and flashing. New doesn’t mean maintenance-free.
- Using a national checklist. A checklist written for a Minnesota house in January or a Florida house in August doesn’t match Long Beach’s specific conditions. Use a checklist built for this city’s climate, housing stock, and drainage patterns.
When to Call a Professional
Some problems are worth calling our Water Damage Restoration services rather than a DIY attempt. If you see a water stain that’s growing, a musty smell that doesn’t go away with cleaning, a wet crawl space, a visible pipe leak behind a wall, or any sign of mold on drywall, call a professional. These are not the situations where you learn as you go. Wet drywall and wet insulation need to come out and be properly dried, and that requires commercial-grade drying equipment, typically air movers and dehumidifiers, which most homeowners don’t have and shouldn’t buy for a one-time problem.
If you’re not sure whether something is a problem, a conversation costs nothing. Mold Remediation in Long Beach and water damage restoration are specialized trades. Marsh Water Damage Long Beach offers free estimates in Long Beach, and we’ll tell you honestly whether you have a problem and what the fix looks like. Call (562) 999-7643. Tobias Reyner, our owner, has been answering these questions for Long Beach homeowners since 2005, and you’ll get a straight answer, a written price, and a clear plan, whether or not you hire us.
See the difference
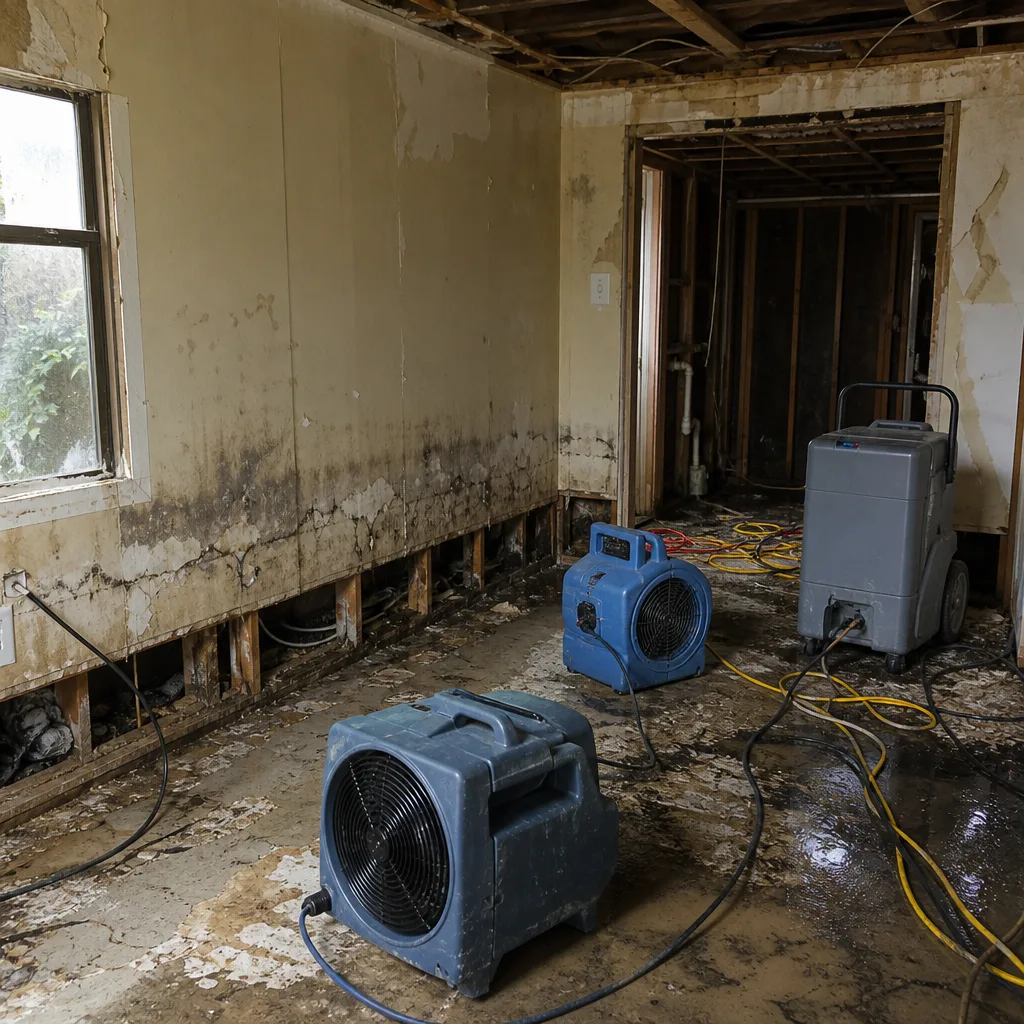 Before
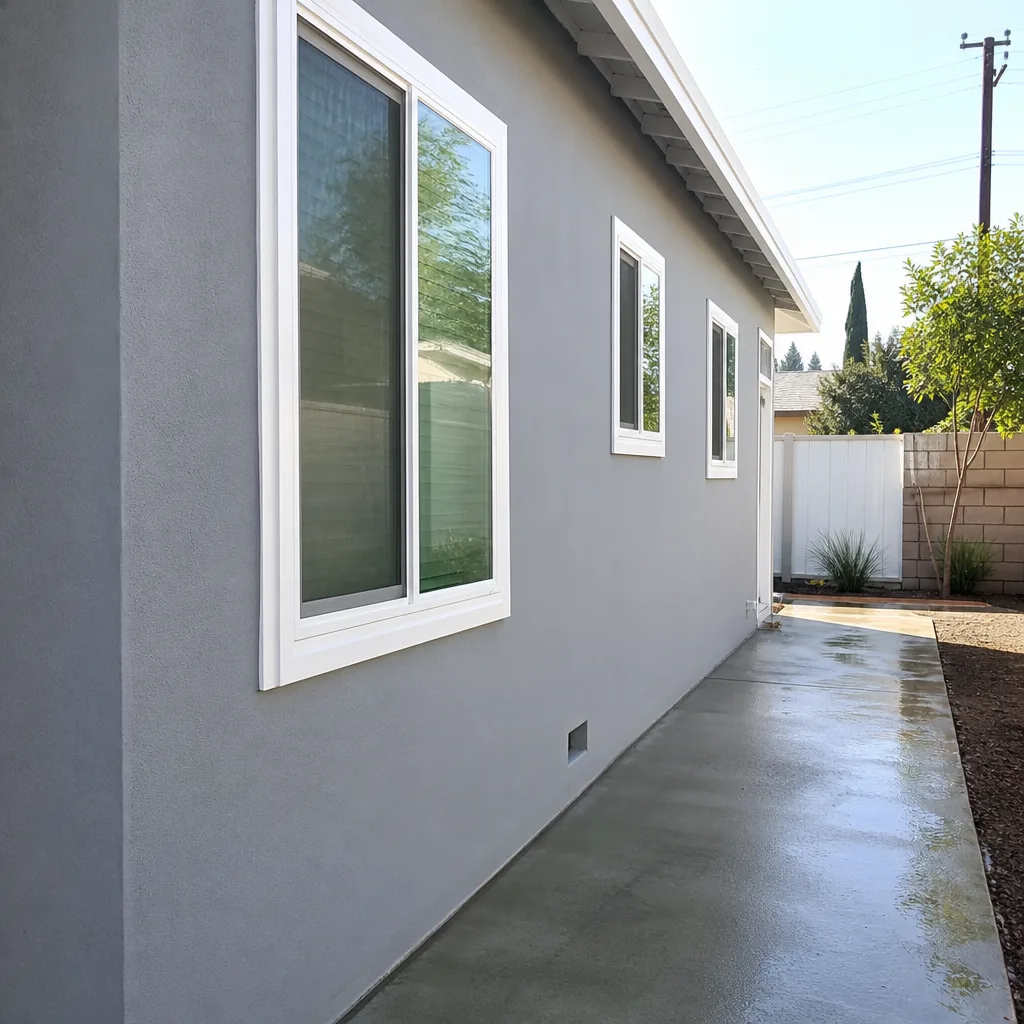 After
After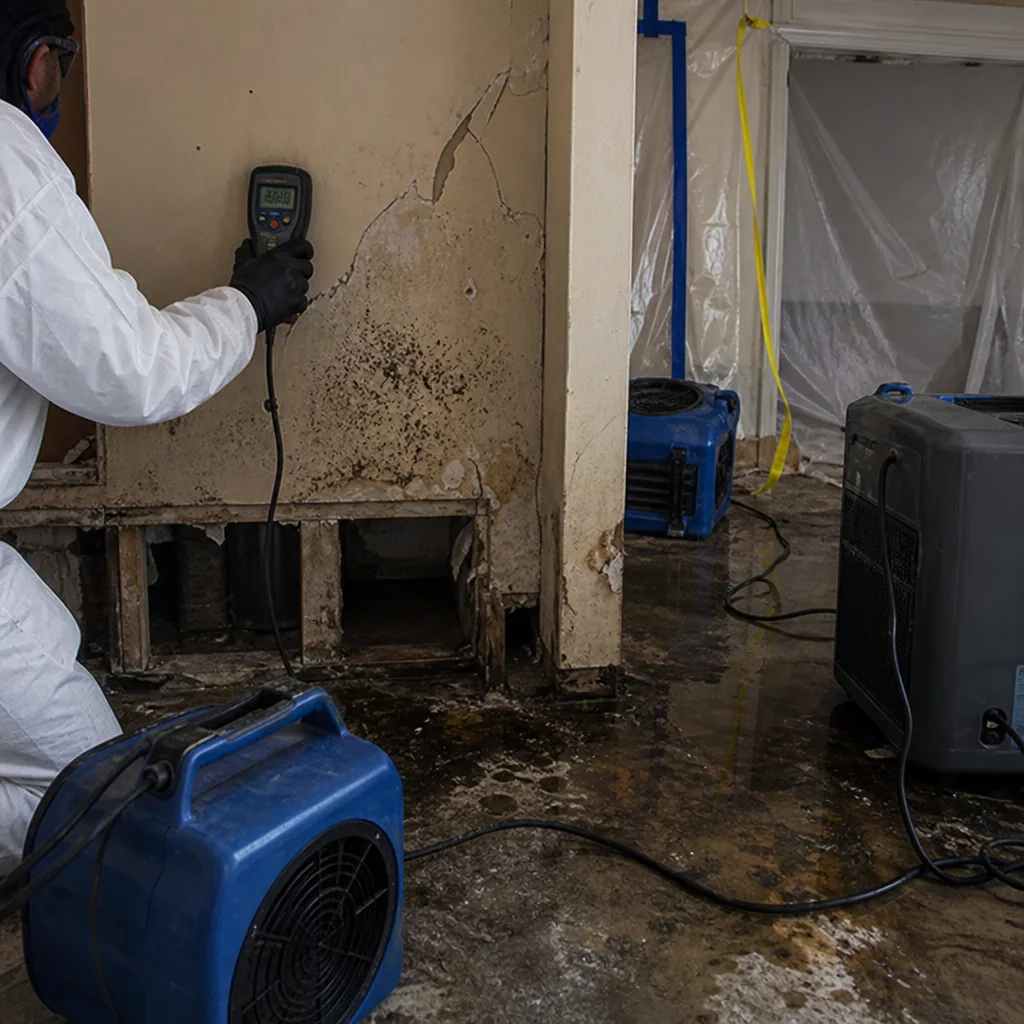 Before
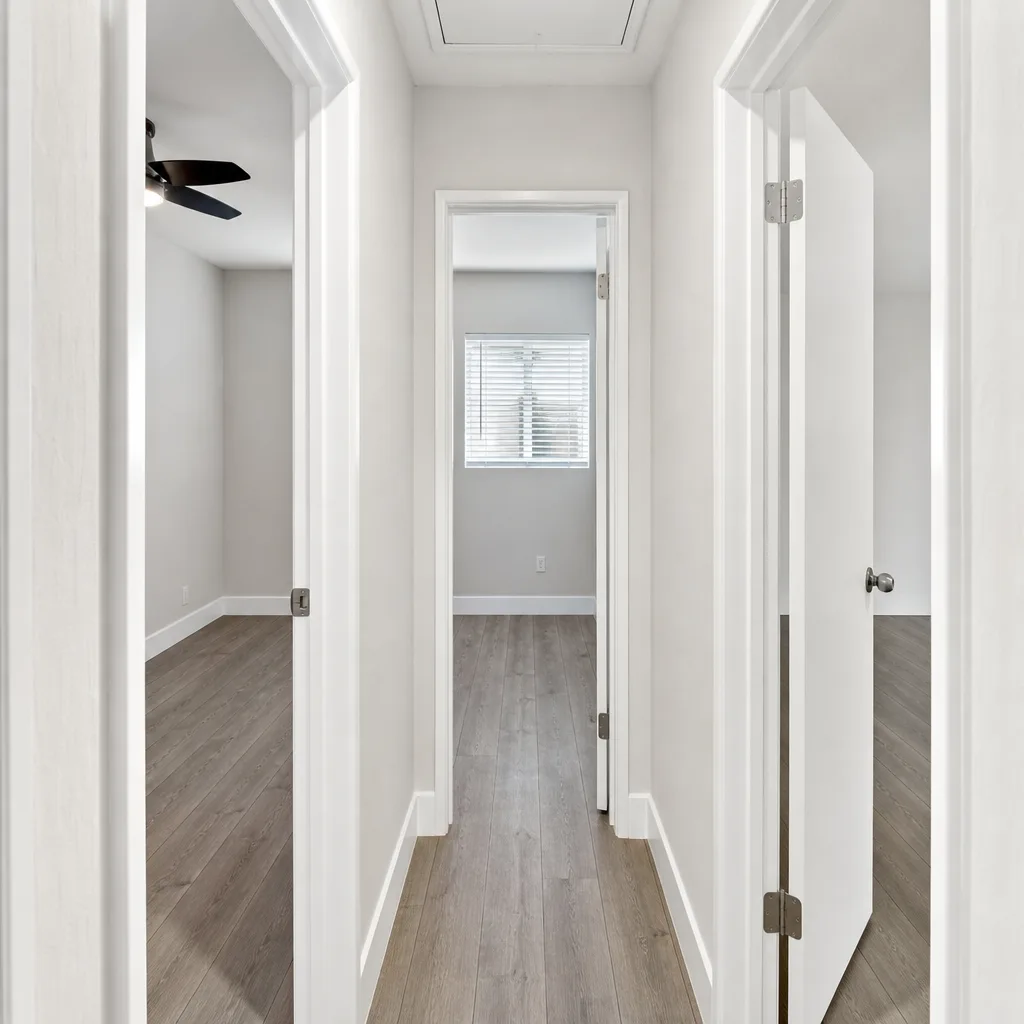 After
After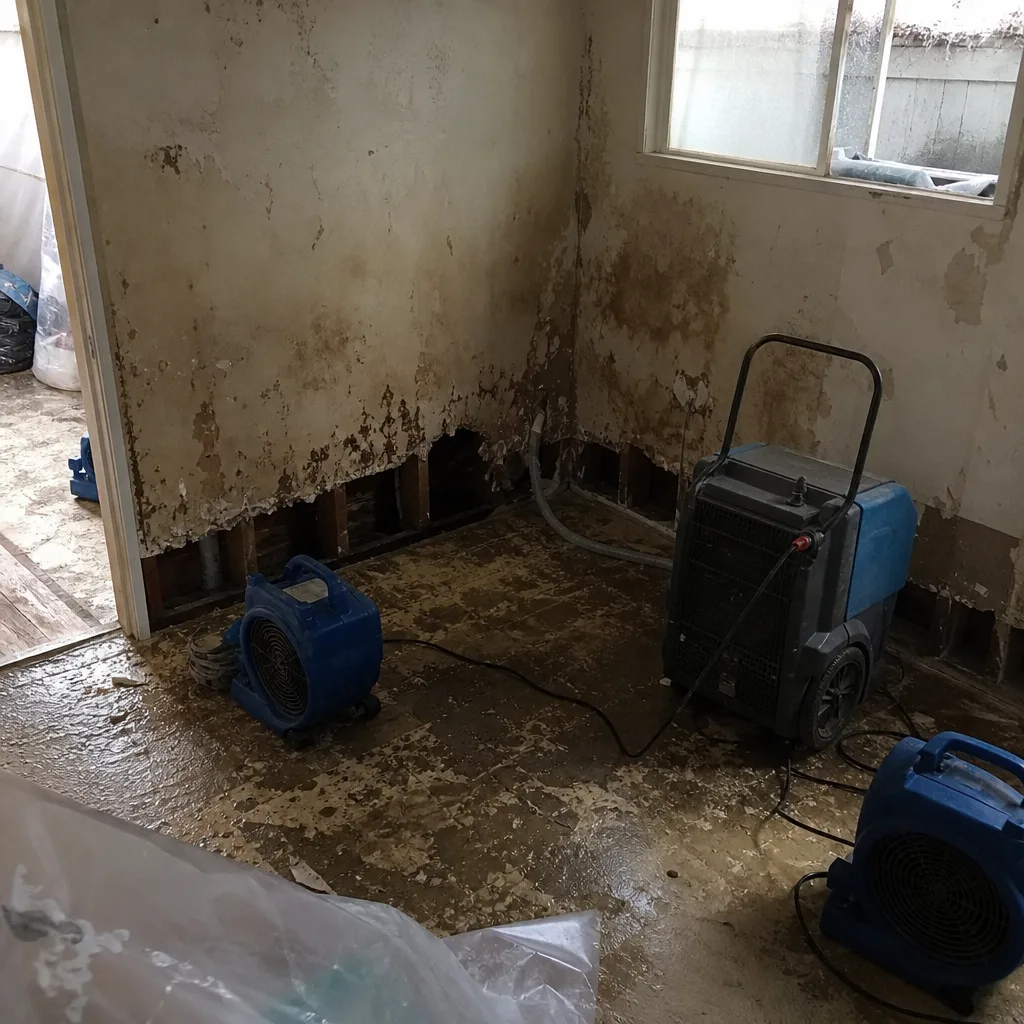 Before
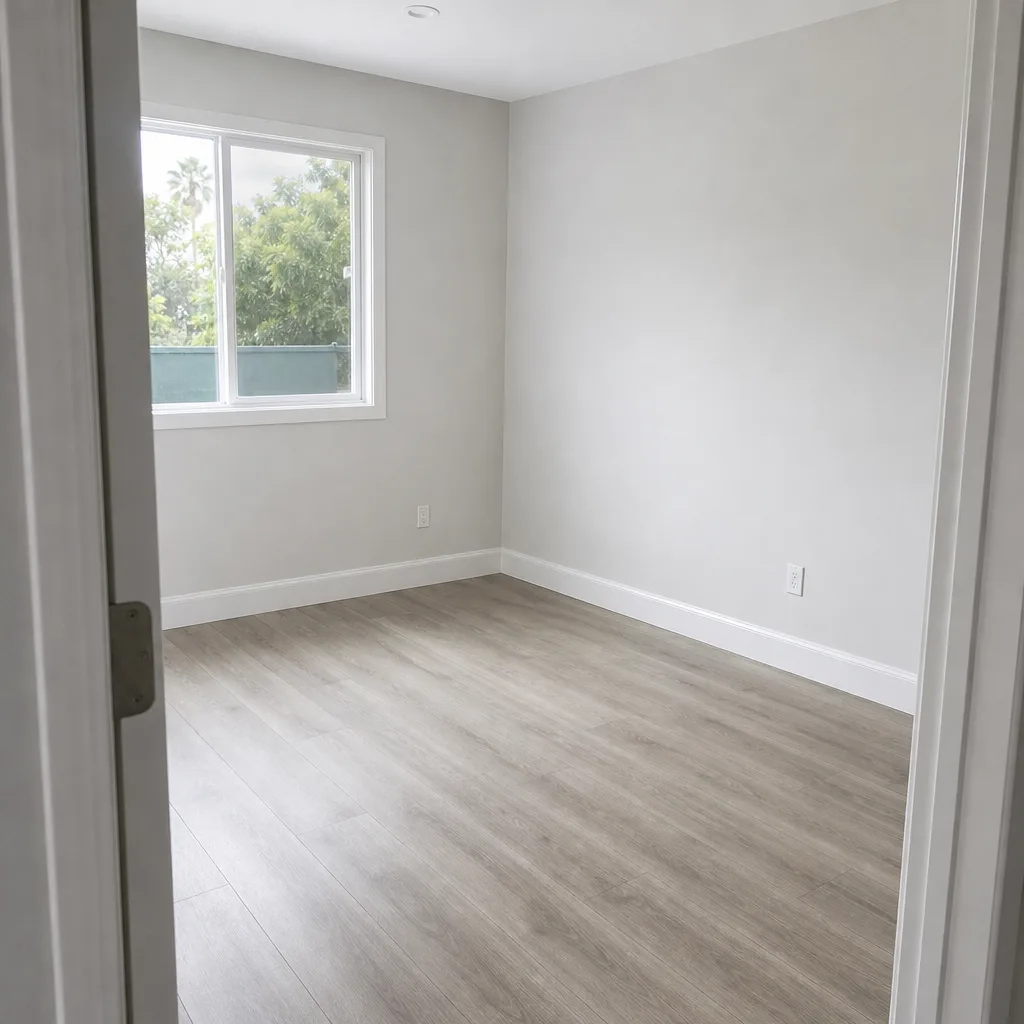 After
AfterFrequently Asked Questions
Run the full room-by-room checklist twice a year, at the start and end of the rainy season, and run the 90-minute atmospheric river inspection after any storm that drops more than two inches of rain. Homes built before 1970 should also have their supply lines inspected annually by a plumber because of the galvanized steel pipe issue specific to this era.
The most common sources are washing machine supply line failures, water heater ruptures, and slow leaks at galvanized or soldered pipe joints in pre-1980 homes. In Long Beach specifically, buried stucco weep screeds and failing sewer laterals under slabs cause more hidden damage than any other single source.
A pin-type moisture meter is easy to use and costs under $60. You can absolutely take your own baseline readings twice a year, and the comparison over time will tell you more about your specific home than any professional inspection ever could. The professional equipment we use, things like Dri-Eaz and XPOWER air movers and Phoenix dehumidifiers, is for damage response, but the baseline monitoring is something any homeowner can do.
Most residential water extractions in Long Beach run between $1,500 and $4,000 before drying equipment is set, and full drying typically adds another $1,000 to $3,000 depending on the square footage and how many affected rooms there are. For a detailed breakdown, see our Damage Restoration Cost Breakdown: The Long Beach Homeowner’s Reference for 2026. Every job with us gets a written price before any work starts, so you know the full cost before a single tool comes out.
You can reach a live person at any hour, including holidays, and we can typically have a technician on site in Long Beach within 60 to 90 minutes of a call for active water emergencies. The dispatch includes the technician’s name and photo before they arrive, so you always know exactly who’s knocking.
Most Long Beach homeowners policies cover sudden and accidental water damage, like a burst supply line or a water heater rupture, but not gradual leaks that have been running for weeks or months. We document everything with photos and work directly with your adjuster to make the insurance process as straightforward as possible. The key is calling quickly, because the evidence of a sudden failure is much clearer before things have had time to dry.
Have questions about your specific situation? Call (562) 999-7643 and ask for an estimate. It’s free, and we’ll give you a straight answer.
The Bottom Line
Water damage prevention in Long Beach isn’t about following a generic national checklist. It’s about knowing your home’s construction era, watching the three local failure points that generic advice misses, running your checks on Long Beach’s actual weather calendar, and keeping a moisture baseline so you know what dry looks like in your own walls. The homeowners who do this work find problems early and fix them cheaply. The ones who don’t find problems by stepping into a wet carpet at 2 a.m. Be the first kind. And if you ever need help, the Marsh Water Damage Long Beach home team is a phone call away.
Written by Tobias Reyner, Owner at Marsh Water Damage Long Beach, serving Long Beach since 2005.